Customize Unraid settings
Unraid OS automatically functions but allows further customization of settings such as IP address, hostname, disk tunables, and more via the Settings tab in the Unraid WebGUI.
![]()
Don't forget - the WebGUI includes built-in help. To access help for a specific field, click the prompt next to it, or use the Help icon ![]() at the top right of the interface to toggle help for all fields.
at the top right of the interface to toggle help for all fields.
System Settings
System Settings enable you to configure key functionalities like network, share, VM, and disk settings.
CPU Pinning
CPU Pinning allows you to assign specific CPU cores to VMs (Virtual Machines) or Docker containers. This is particularly important for performance-sensitive workloads, such as gaming VMs. Even if you manually assign Docker containers to avoid conflicts with your gaming VM, the host operating system may still utilize those cores for tasks like managing the Web GUI, running a parity check, or performing BTRFS operations.
- When you pin a core to a VM or Docker container, that core is allocated to the VM or container. However, Unraid OS may still access it for routine tasks.
- When you isolate a core, it becomes dedicated to the VM or container and is no longer accessible to Unraid OS.
- You can pin cores without needing to restart your server, but applying CPU isolation changes does require a system restart.
Date & Time
On this page, you can set your time zone and toggle the use of up to four NTP servers. You should adjust Unraid to match your time zone for accurate timekeeping.

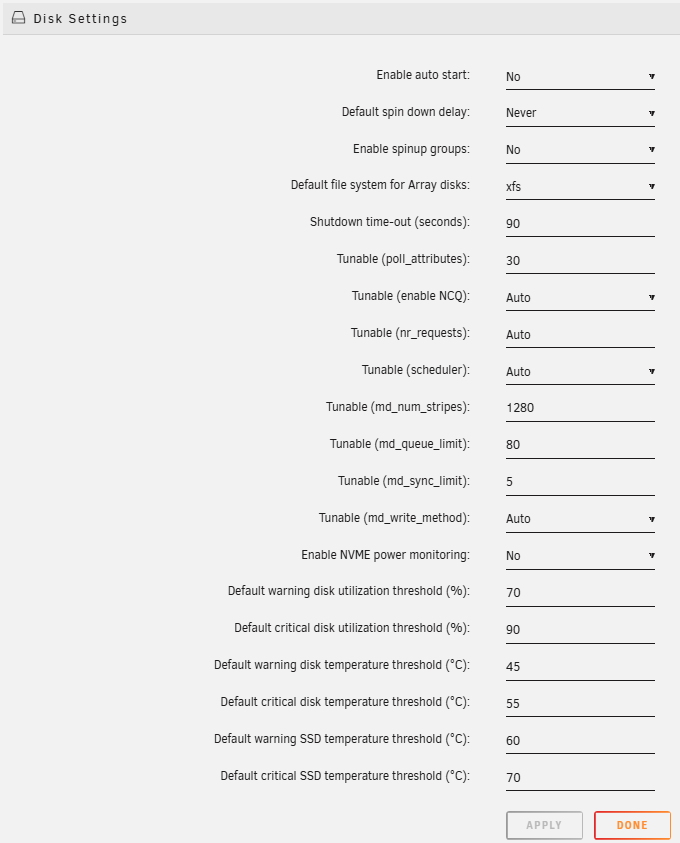
Disk Settings
You can modify additional settings for your disk devices on this page. Enable your array to start automatically on boot, adjust disk spin-down timers, and even change advanced driver settings like SMART polling frequency.

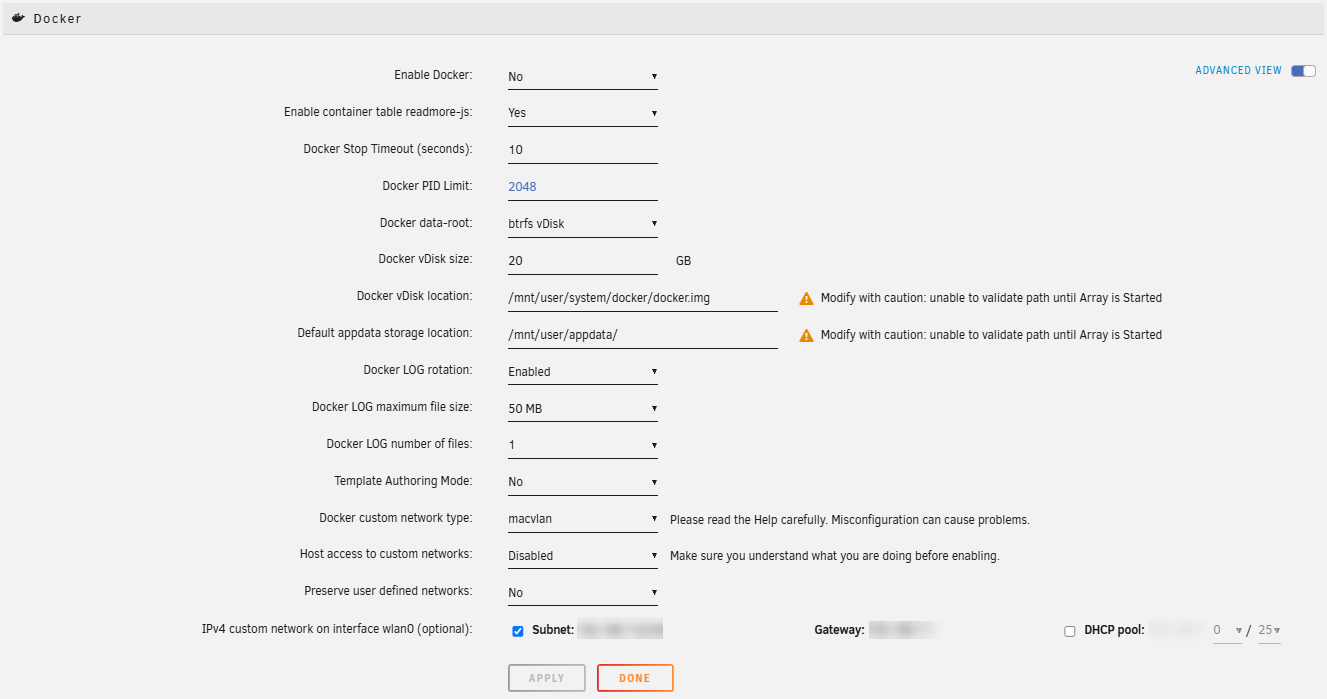
Docker
Docker containers allow you to integrate pre-configured Linux applications into your Unraid server. For more details, see the Docker Management page.
Identification
Unraid defaults to the hostname tower, but you can change it here. You can also add a description or model number for your system. This page lets you enable or disable SSL support, change the WebGUI port, and provision an SSL certificate for your server.

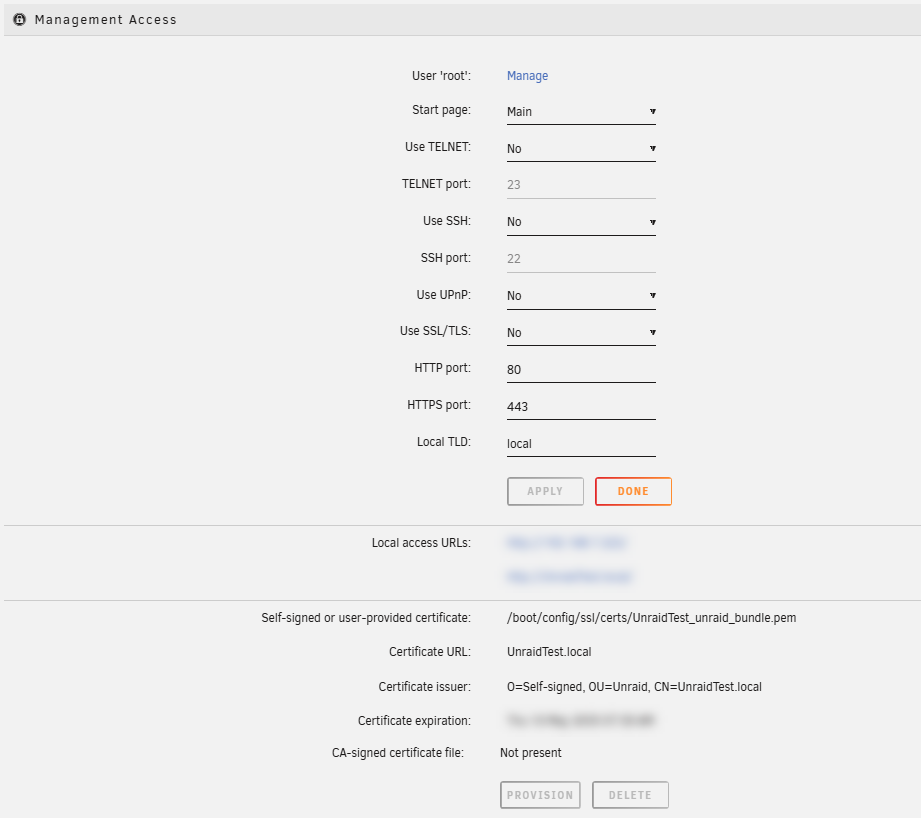
Management Access
You can configure various access settings for your Unraid server, including enabling Telnet or SSH, setting ports for SSL/TLS, HTTP, and HTTPS, and defining the default landing page for Unraid.
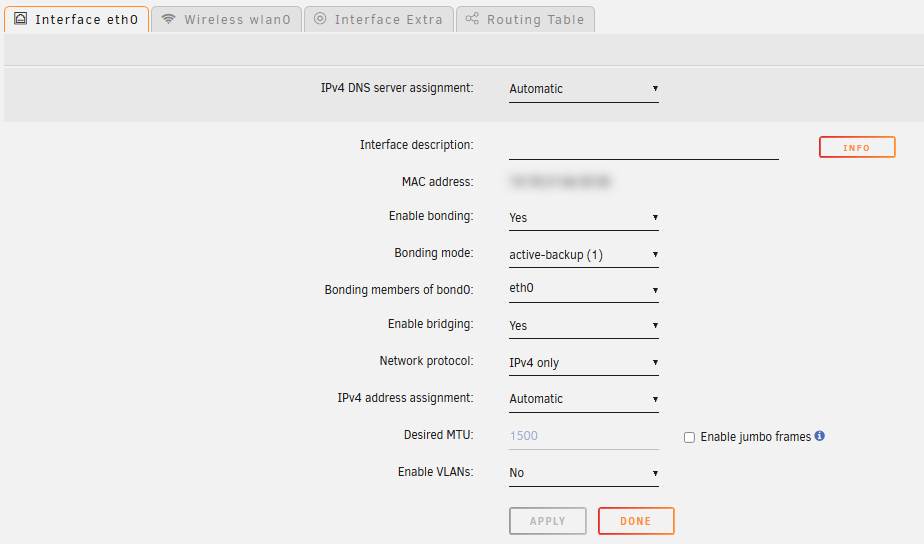
Network Settings
By default, Unraid tries to obtain an IP address from a DHCP server on your local network, usually provided by your router. On this page, you can configure a static IP address, set up bonding, bridging, or explore other options. While setting a static IP is recommended, it is not necessary to use Unraid.
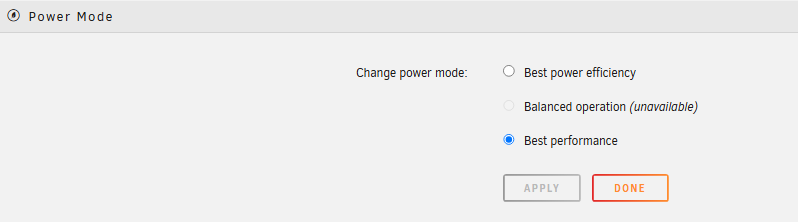
Power Mode
The Power Mode setting allows you to optimize your Unraid server for energy efficiency, balanced operation, or maximum performance. You can choose from available modes - Best power efficiency, Balanced operation, or Best performance - to match your workload and energy preferences. Adjusting Power Mode can help reduce power consumption, lower system temperatures, or provide additional resources for demanding tasks.
Changes take effect immediately and do not require a system restart.
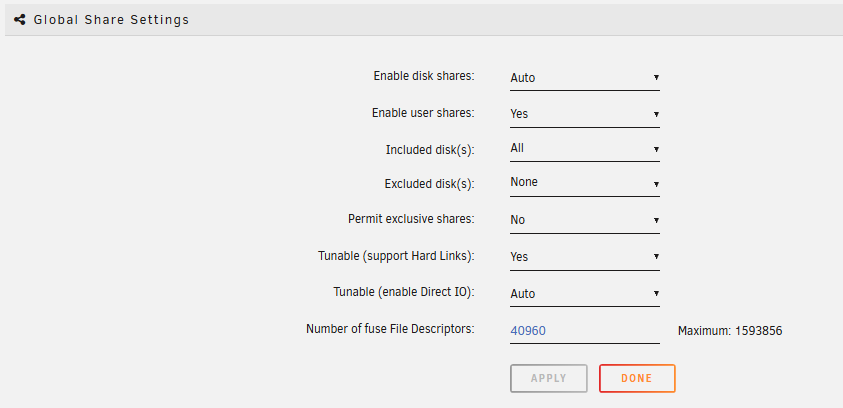
Global Share Settings
User shares can greatly simplify the organization and access of content across multiple disks in the array. You have the option to specify which disks are allowed to participate in user shares through global inclusion or exclusion settings. Additionally, if a cache device or pool is available, you can configure its usage with user shares from this section.
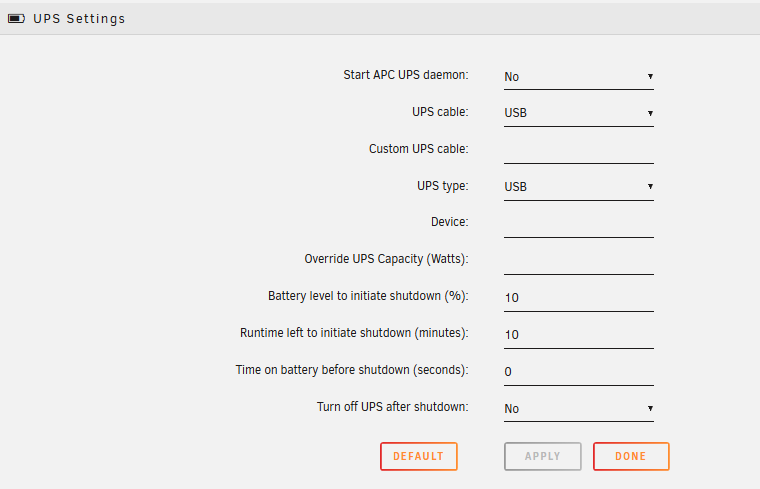
UPS Settings
Unraid can be connected to an APC (or compatible) UPS (Uninterruptible Power Supply) to allow the system to safely shut down during a power loss while still receiving battery power. You can configure the UPS connection and set policies for the shutdown command on this page. For the complete manual, visit the APCupsd Manual.
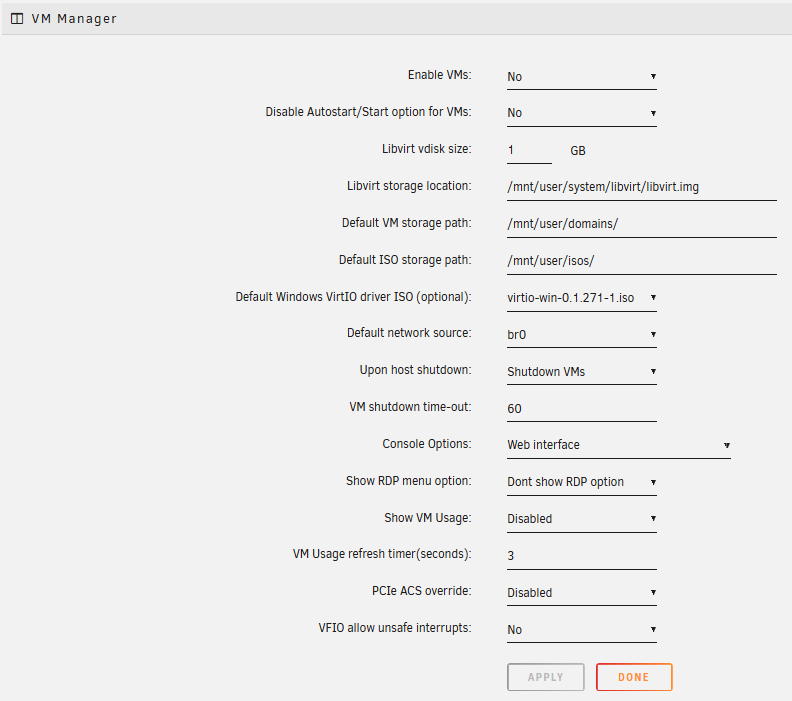
VM Manager
Virtual machines (VMs) can turn your server into a desktop or media player, and run applications not designed for Linux. For details on managing VMs on Unraid, see the VM Management and VM Guest Support sections.
Network Services
Network Services let you configure network communication protocols on your Unraid server, which are essential for user and disk shares. You can also enable an FTP server, a logging server, and set up a VPN for secure remote access.
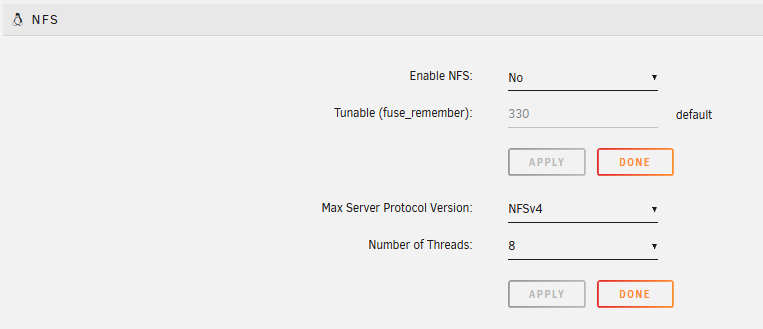
NFS (Network File System)
NFSv4 support was introduced in Unraid 6. You can enable or disable it for user shares and adjust the fuse_remember tunable to help resolve NFS Stale File Handle errors.
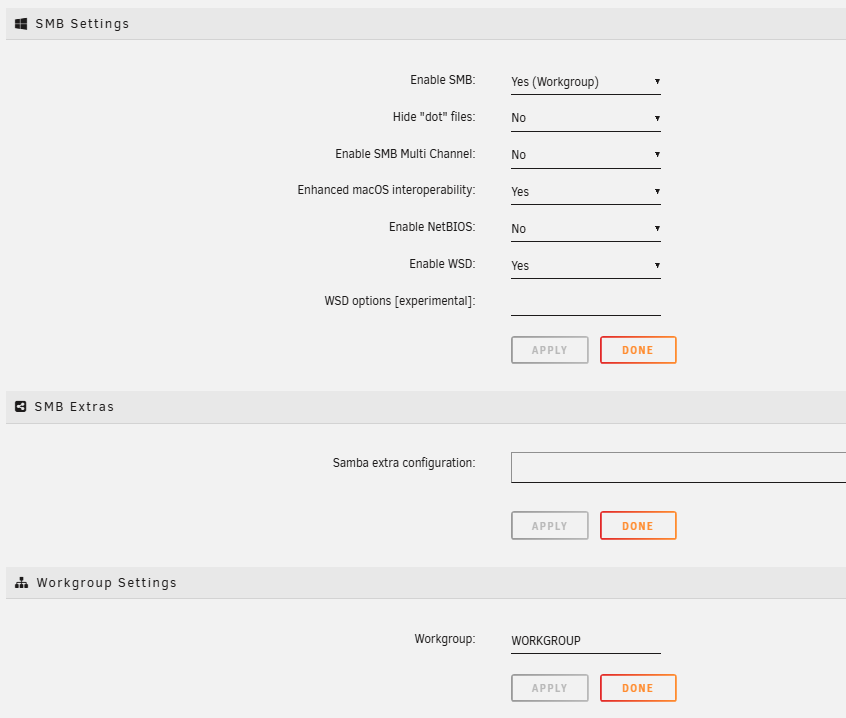
SMB (Server Message Block)
The SMB protocol is used by Microsoft Windows clients. From this page, you can enable it, define a workgroup, or join an Active Directory domain.
FTP (File Transfer Protocol)
Users can connect via FTP only if they are added to the FTP users field on this page. If no users are added, the FTP service will not start.

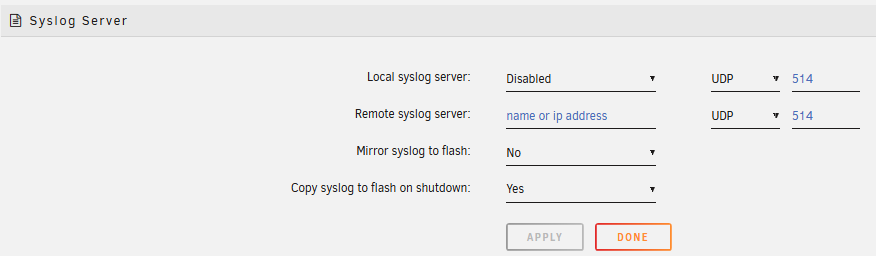
Syslog Server
The Syslog server permanently stores your system log, which is useful for troubleshooting since Unraid clears the log after each reboot.
Tailscale
The Tailscale section allows for secure remote access via the Tailscale VPN. Here, you can log in to connect your Unraid server to your Tailnet, view the assigned IP address and hostname, and enable or disable Tailscale connectivity.
You can also configure your server as a Subnet Router for local devices or as an Exit Node to route internet traffic. This section enables management of advertised routes, exit node status, Docker container integration options, and connection status monitoring for troubleshooting.

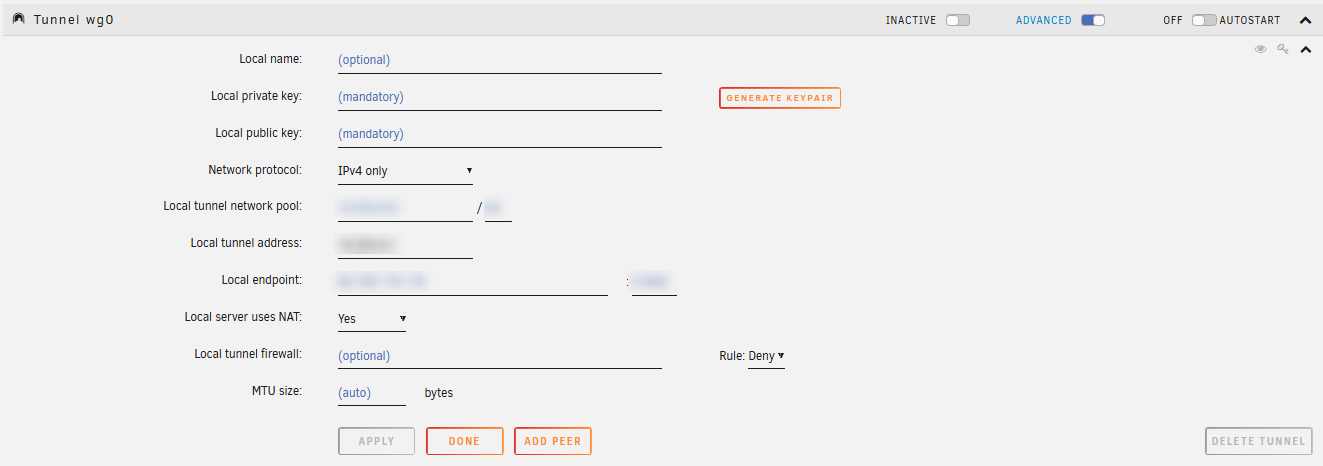
VPN Manager
You can establish a VPN connection to your Unraid server using WireGuard for secure internet connections.
User Preferences
User Preferences allow you to configure various aspects of your interactions with Unraid OS, including notifications, display settings, UI customization, and the Mover schedule.
Confirmations
You can enable/disable the requirement for confirmations when performing various tasks from this location.

Console Settings
Allows you to customize the local system console. You can select the keyboard layout, adjust the screen blanking timeout, and enable or disable persistent Bash history across reboots. These options enhance your experience when using Unraid with a connected monitor and keyboard.

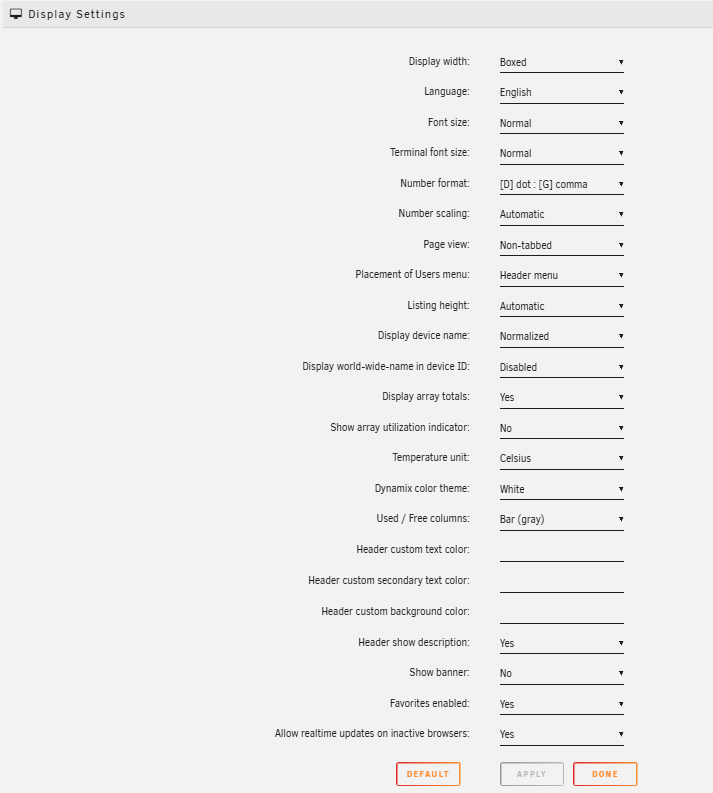
Display Settings
Customize the Unraid WebGUI appearance on this page by adjusting the date and time format, number format, and toggling between tabbed and non-tabbed views. You can also select the temperature unit and choose from different themes for the user interface.
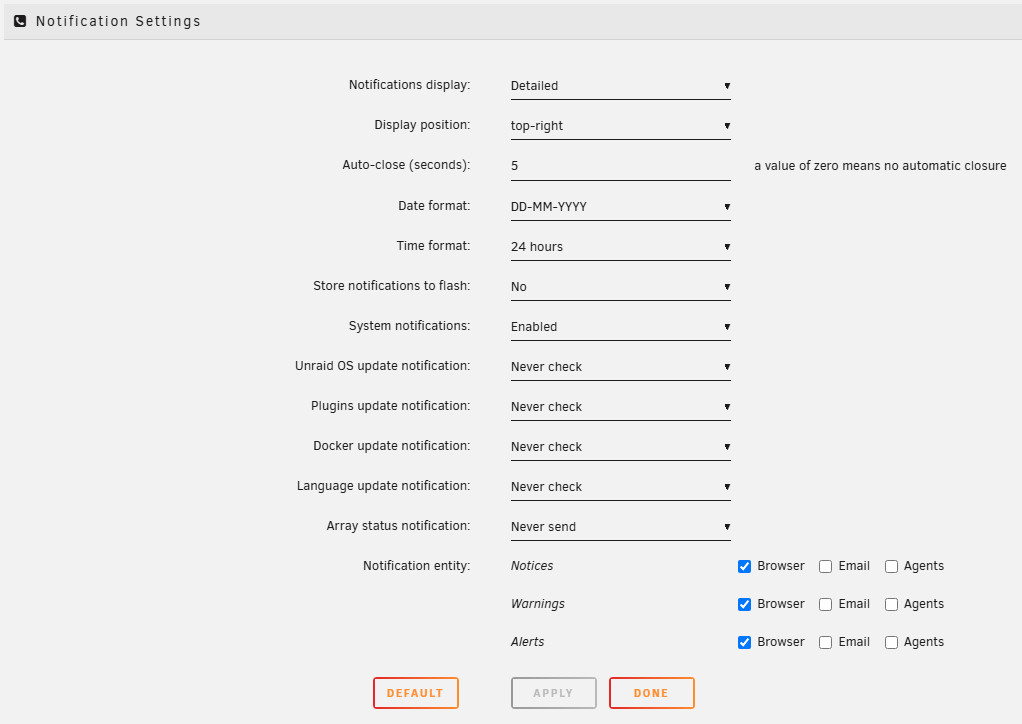
Notification Settings
You can configure browser and email notifications on this page, subscribing to different types and setting custom alerts for SMART attribute values.
Scheduler
The scheduler settings page allows you to easily configure the frequency for two automated tasks: parity checks and the cache mover.
User Utilities
Third-party plugins are displayed here, enhancing Unraid’s functionality and giving you more control over your server. For example, the Community Applications plugin is included. Other plugins offer features for system monitoring, maintenance, storage management, and appdata backups.